
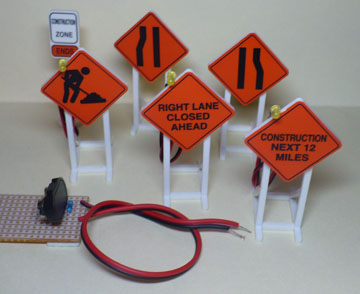
Set Includes:
1. Carefully unpack the set.
2. Insert a 9v alkaline battery into the supplied holder. The magnetic disc will hold the battery in place. Be sure it is clipped into fastener completely.
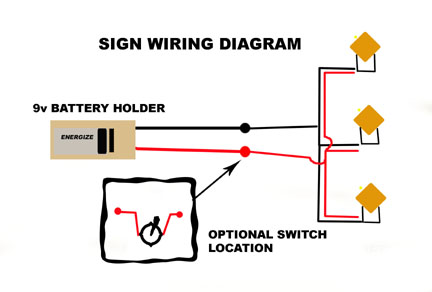
3. Wire the signs according to the diagram below. Attach the red wire of the battery holder to all the red wires of the signs. Repeat this process for the black wires. The battery holder has adhesive foam on the back allowing it to be placed on your control panel or under the layout. Carefully remove the green paper backing from the adhesive and press into place. Be careful not to touch the adhesive, it will reduce the sticking ability.
* You may add additional wire in between the battery holder and signs. Be sure that ultimately the red and black wires from the battery holder pair up with the red and black wires from the signs.
* A toggle switch (not included) may be added to the circuit as noted by the diagram for convenient on/off operation of the signs. Place the red wire from the battery holder to one terminal of the switch. Attach all red wires from the signs to the other terminal of the toggle switch. Locate the switch at a convenient location on your layout.
Back to Product Selection Page
ADDITIONAL WIRING ALTERNATIVES:
Where do you want to go next?
Visit my eBay Store!