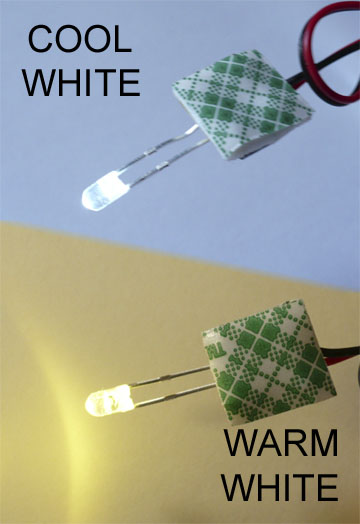
Item Specs
* Do not cross the leads on the L.E.D.
* The L.E.D. may be mounted through a 1/8" (4 mm) drilled hole or mounted behind a pre-existing lens on your train. The L.E.D. does not get hot so no melting will occur.
Where would you like to go next?
Back to Product Selection Page
* Do not bend leads more than a couple times; they will break from repeated stress
* Do not exceed 20 volts. This will permanently damage the L.E.D.
* Keep this item away from young children; it is a choking hazard
Notes:
* To install the circuit board, simply peel off the green backing to the adhesive and press the board into the desired location. Try not to touch the adhesive, this will reduce the sticking ability.
* Attach one wire from the L.E.D. pig-tail to the ground wire in the train. Attach the second pig-tail wire from the L.E.D. to the positive wire in the train. If you're using AC power, it does not matter which wire attaches to which. The L.E.D. will work either way.
* NOTE TO DC OPERATORS: If the L.E.D. fails to light, simply reverse the wires. L.E.D.s require correct polarity to light from a DC power source.